

3 Easy Squarespace Details Almost Everyone Forgets Before Launching (But Really Shouldn’t)
Launching a client website is probably one of my favorite feelings. The domain is connected, they’ve purchased a hosting package, and they’ve given you the green light on the design. But before I push PUBLISH on that bad boy, there are a few small tasks I make sure to do so that my client’s site is ready for them to use (and the world to see).
Here are three Squarespace settings I always double-check — and you should too.
1. Add a Favicon and Social Share Image
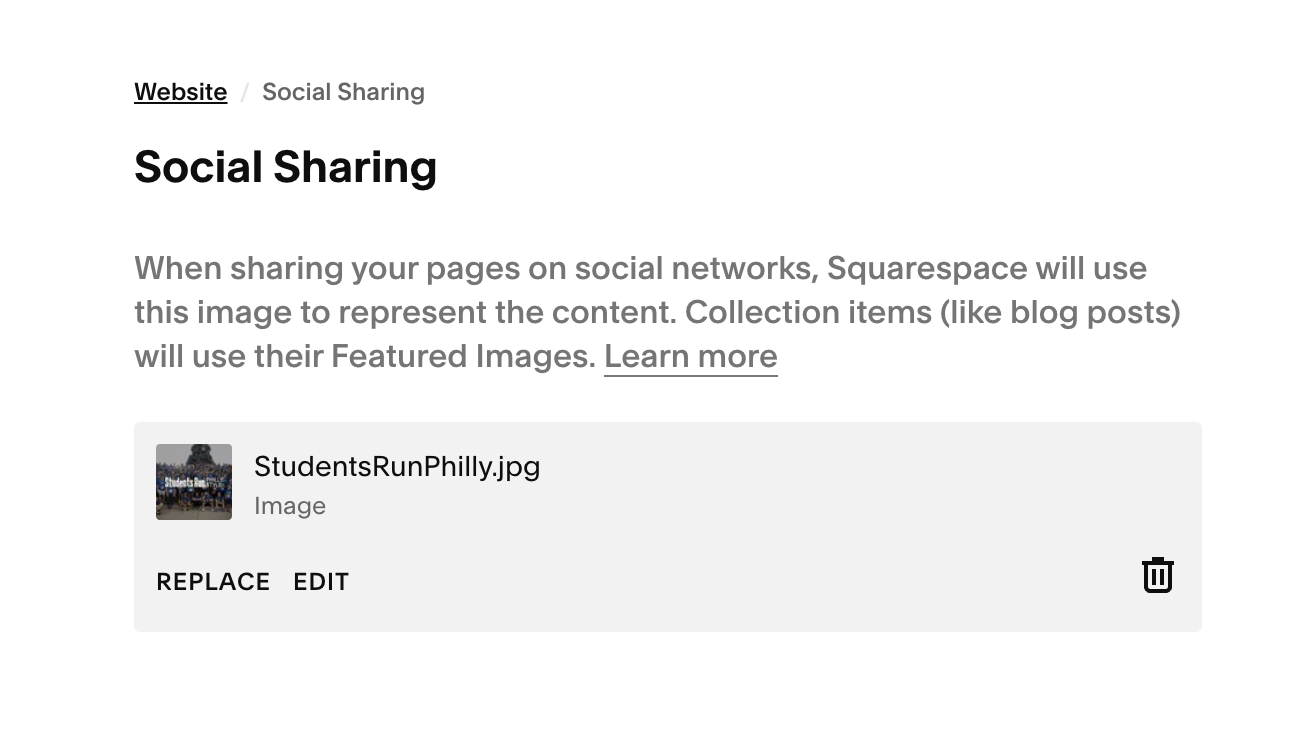
Ever shared a link via text and Squarespace pulls a random image…or nothing at all? That’s because a social sharing image wasn’t set.
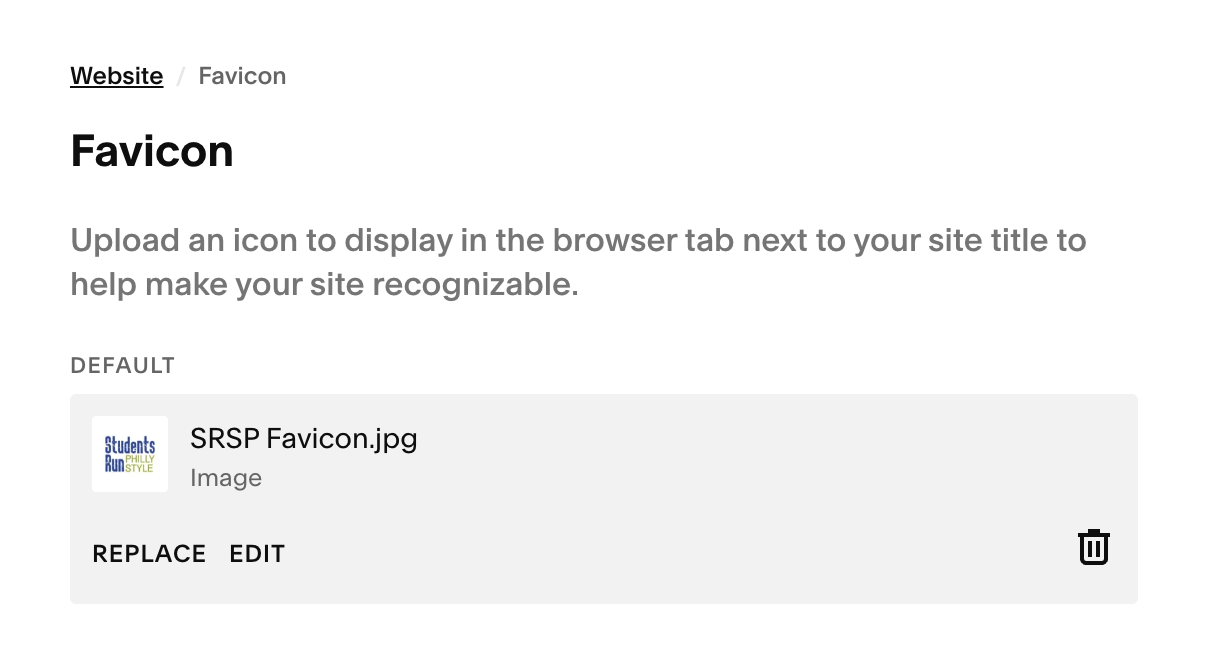
Social sharing images control what shows up when someone posts your site on Instagram DMs, WhatsApp, Facebook, Slack, or iMessage. Think of it as your website’s cover image across the internet. A favicon is the tiny image that represents your site on its tab at the top of a browser. Squarespace defaults any sites without a Favicon with this gray box image, so it’s best to update this for your clients.
At the end of my client’s projects, I create a social share image (I make sure it’s horizontal and around 2000×1333 pixels in size) in Photoshop or Canva. I either use a brand photo with their logo centered and on top, or I take a screenshot of their homepage banner. For the Favicon, I make a tiny (like 400×400 pixels) image with their logo or brand mark. Because this is a tinnnny image, make sure whatever you decide to use is legible!
Where to update:
Go to Settings → Website → Social Sharing and Favicon
2. Update SEO Title Tags & Meta Descriptions
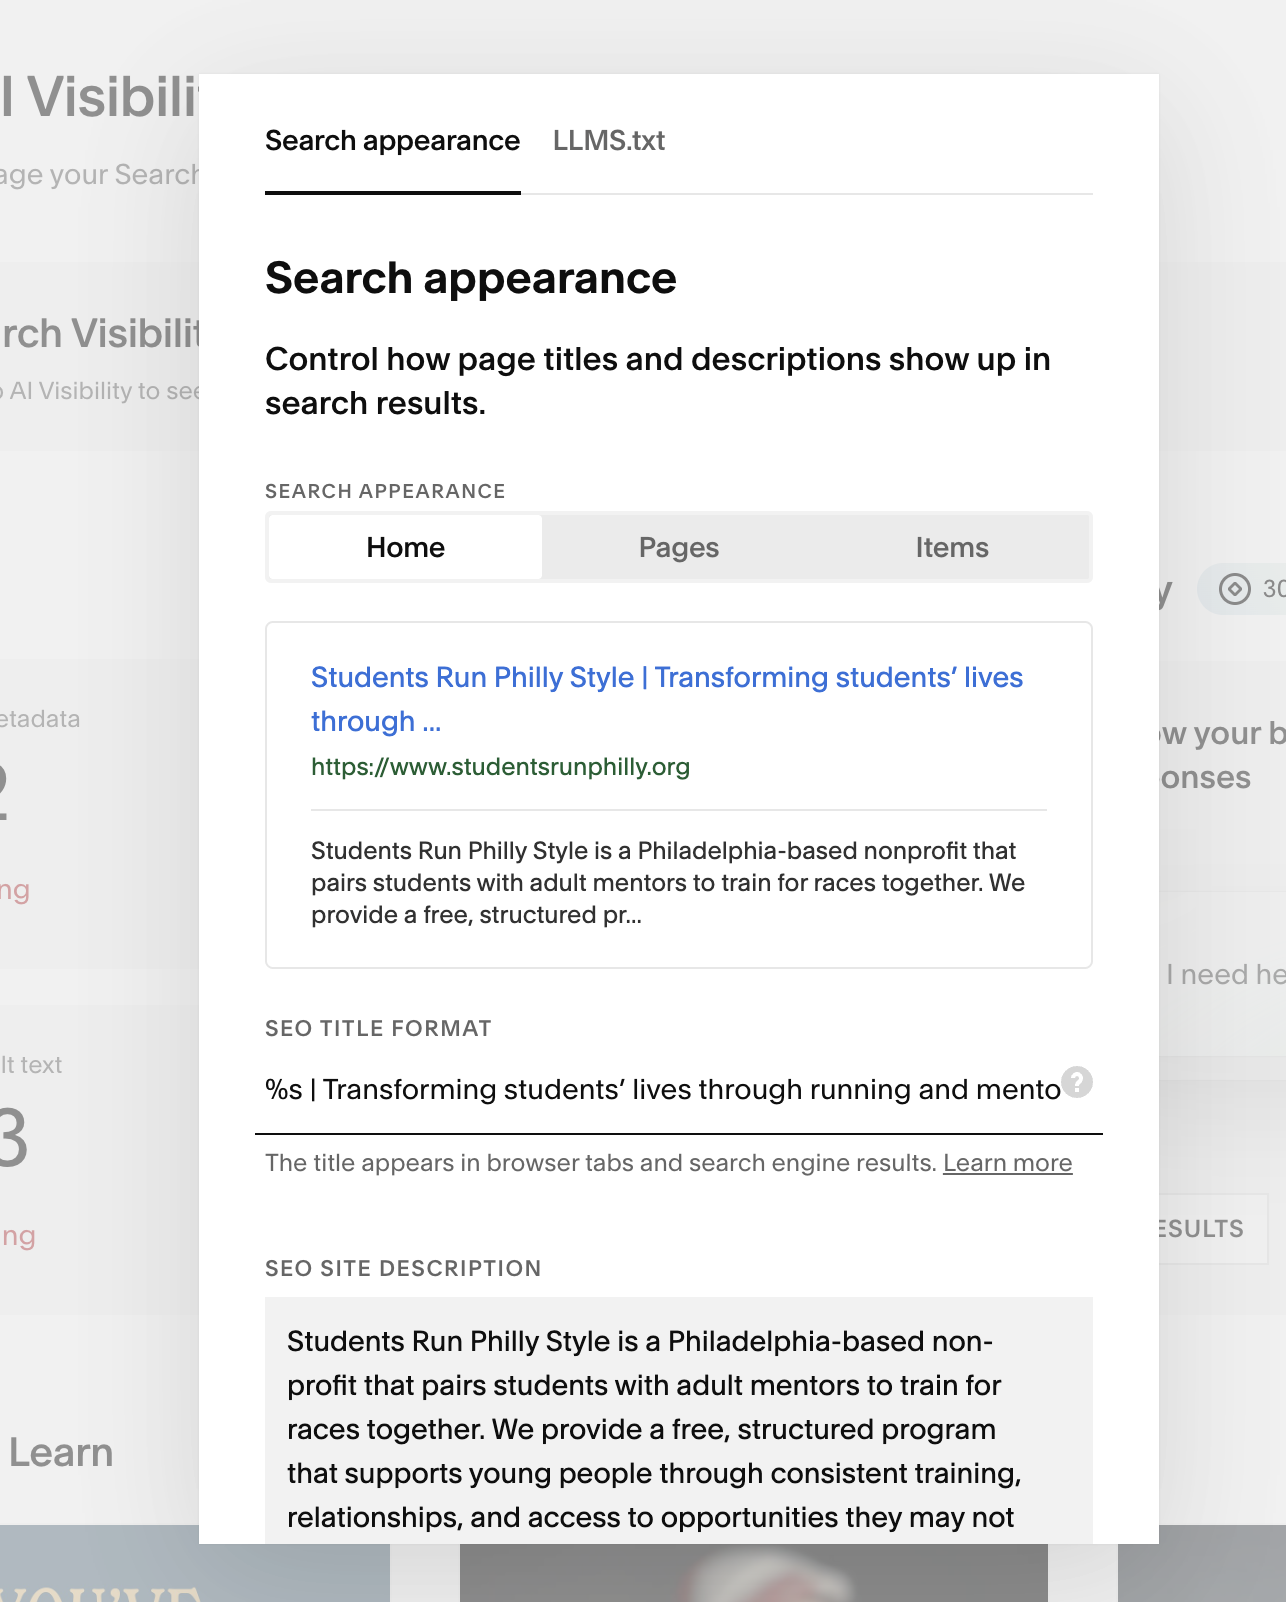
I offer Basic SEO for my clients, which basically means I update their site with a custom Title Tag and Meta Description. This allows their site to show up a bit more optimized in search results and also in the top tab of your page on a browser. One tip - try to be as spefic and relevant. If they’re a Nutrionist in a certain region, add those keywords (like Brand Name | Brooklyn Nutritionist).
What to do:
Go to Website → and click on SEO / AI Visibility.
Enter an SEO Title Format and SEO Site Description.
Write a clear, keyword-friendly title (50–60 characters) and a descriptive meta description (150–160 characters).
SEO is a whole beast and service I don’t really offer to clients (even though I worked at an SEO agency for a year before going freelance with ALAM Digital). I learned a bunch of tips from that job, so maybe I’ll make a longer blog post on that later.
Here’s a great resource to learn more about SEO on Squarespace
3. Redirect Any Old URLS (aka URL MAPPING)
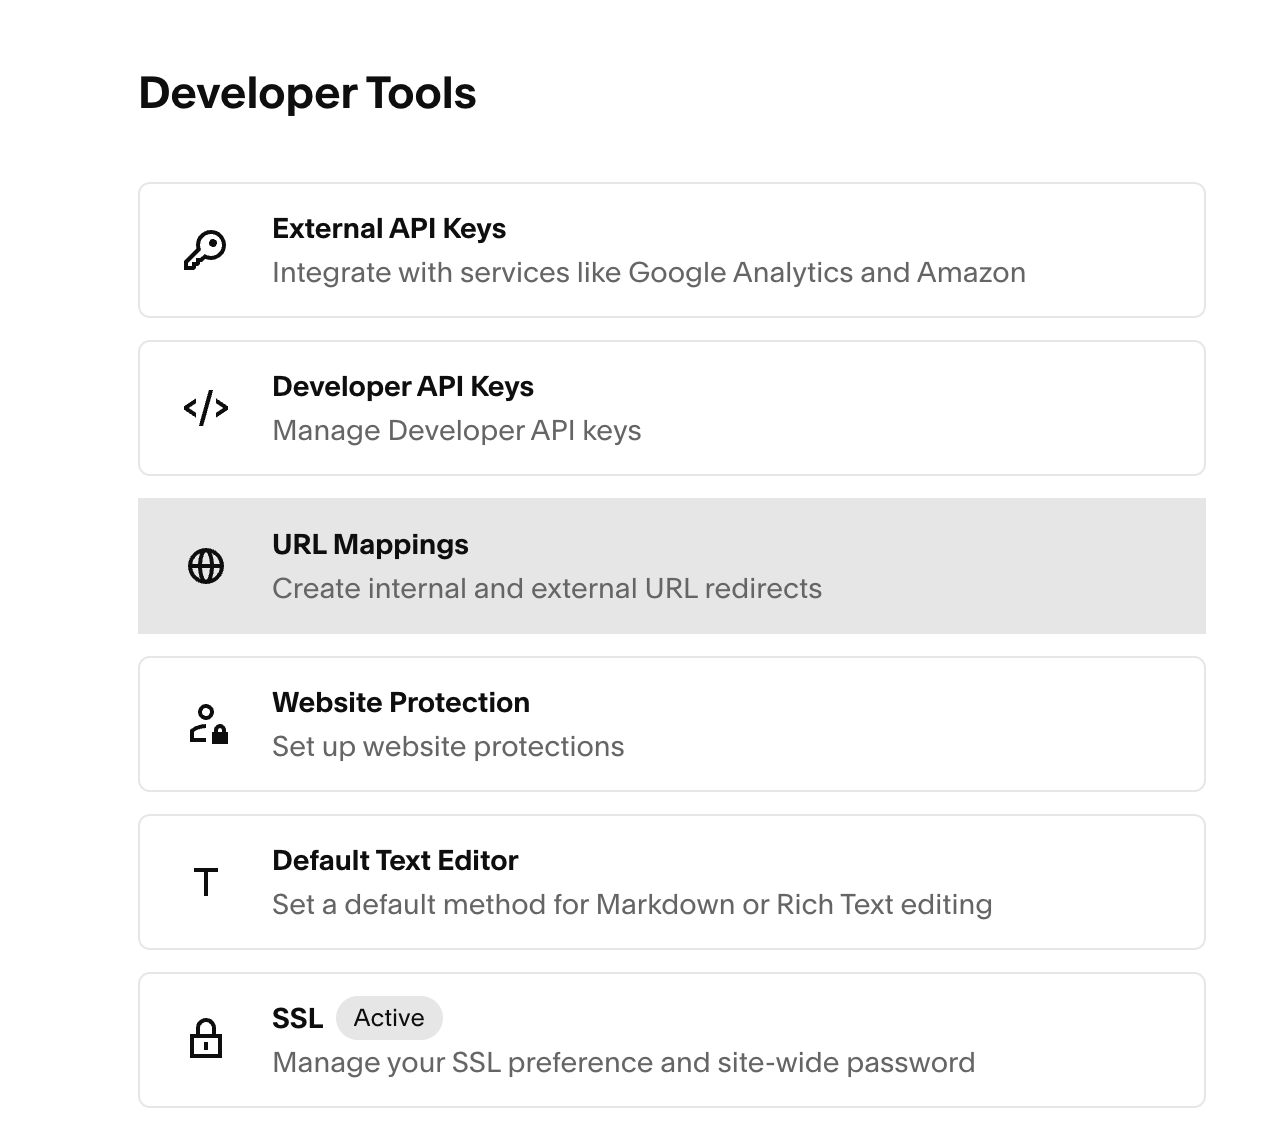
Okay, now this one is important for your client site’s usability and SEO. If you are redesigning a website, you’ll most likely be adding or consolidating content onto new pages. In order for people not to get a 404 or error when they go to a certain page, I like to do a URL Mapping in Squarespace.
So for instance, a client had the URL for their About page as “/about-us2.” (Yes, expect everything when it comes to the URLS on old sites haha). I want that now to easily redirect to the new page that I created as “/about.” Because search engines save information from a client’s previous site, it’s important to redirect /about-us2 to /about.
What to do:
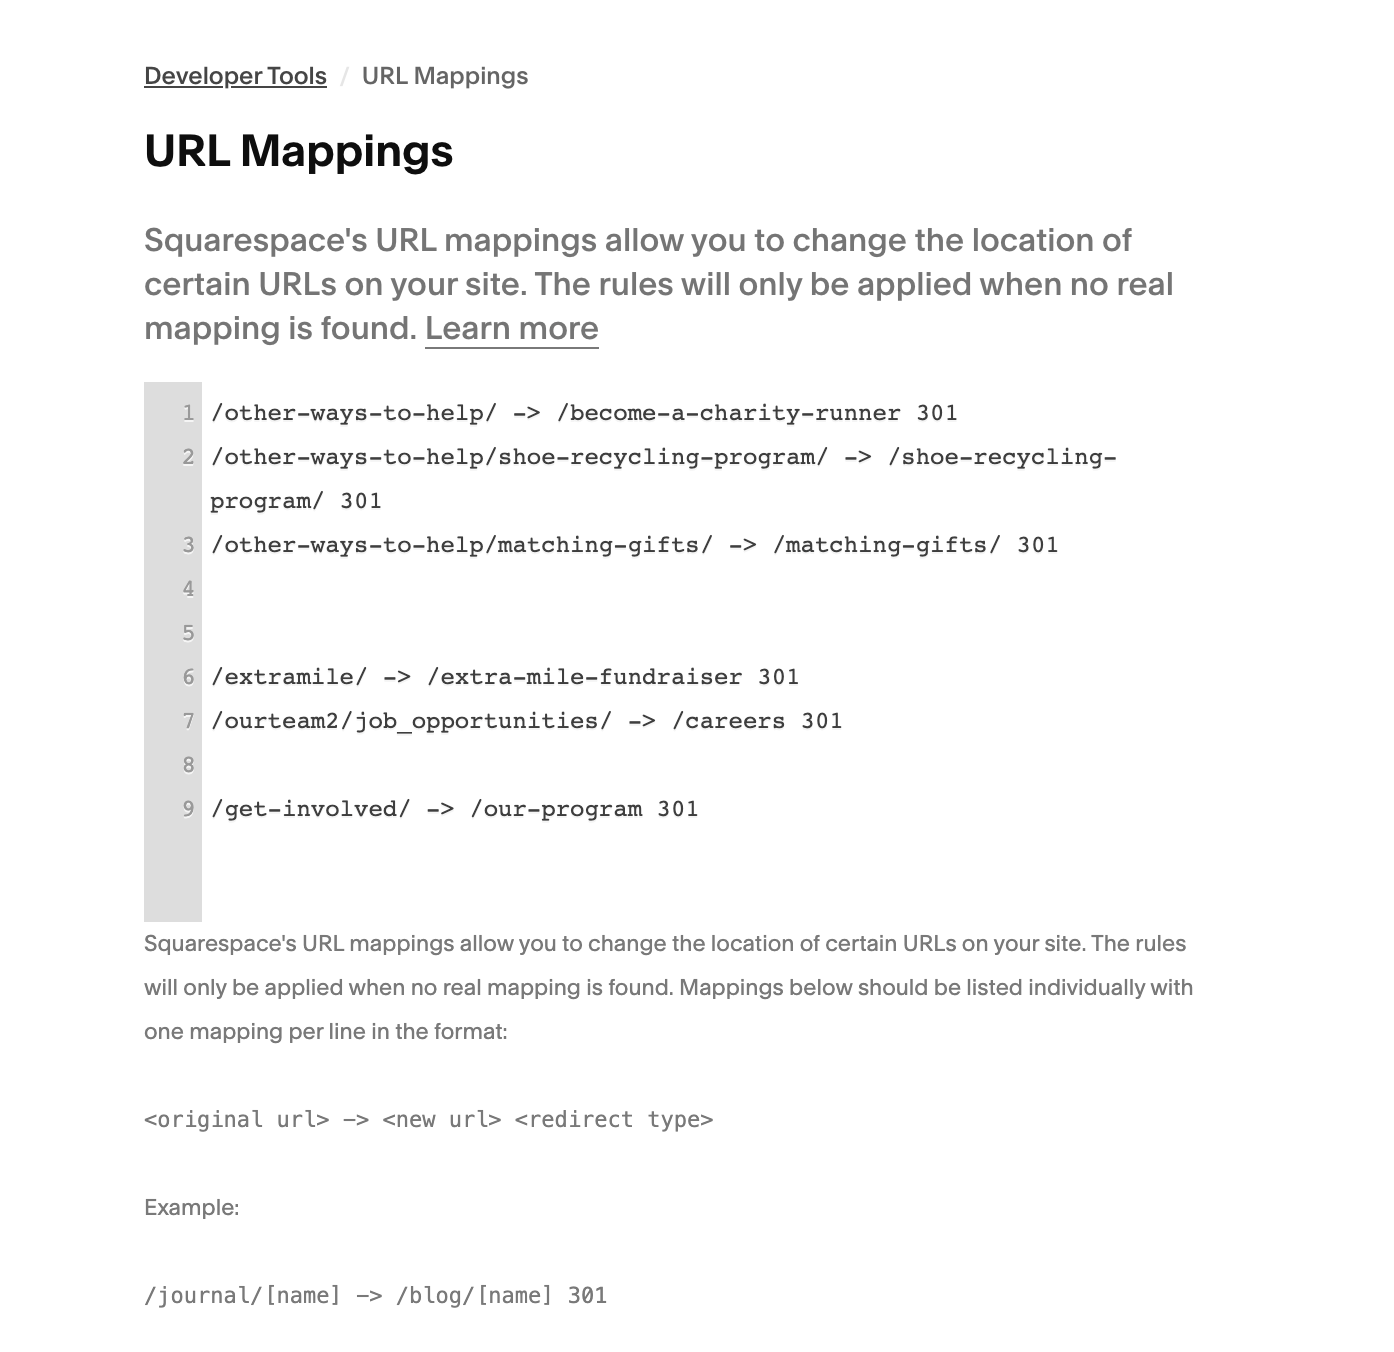
Go to Website→ and click on Developer Tools then URL Mappings.
Squarespace gives you directions on how to format the old URL to the new one, so just follow that formula to 301 redirect your urls (#geektalk).
“A 301 Redirect is an HTTP status code that permanently sends webs browsers and search engines from an old URL to a new one. It automatically forwards users and passes most of the original page's SEO ranking power and link value to the new address.”
Final Thoughts
These extra tasks don’t take long to do, but they make me feel a sigh of relief when it comes to launching a client’s site. Or maybe it’s my slight ADHD. Either way, follow these steps for your website and your future visitors will thank you!
